
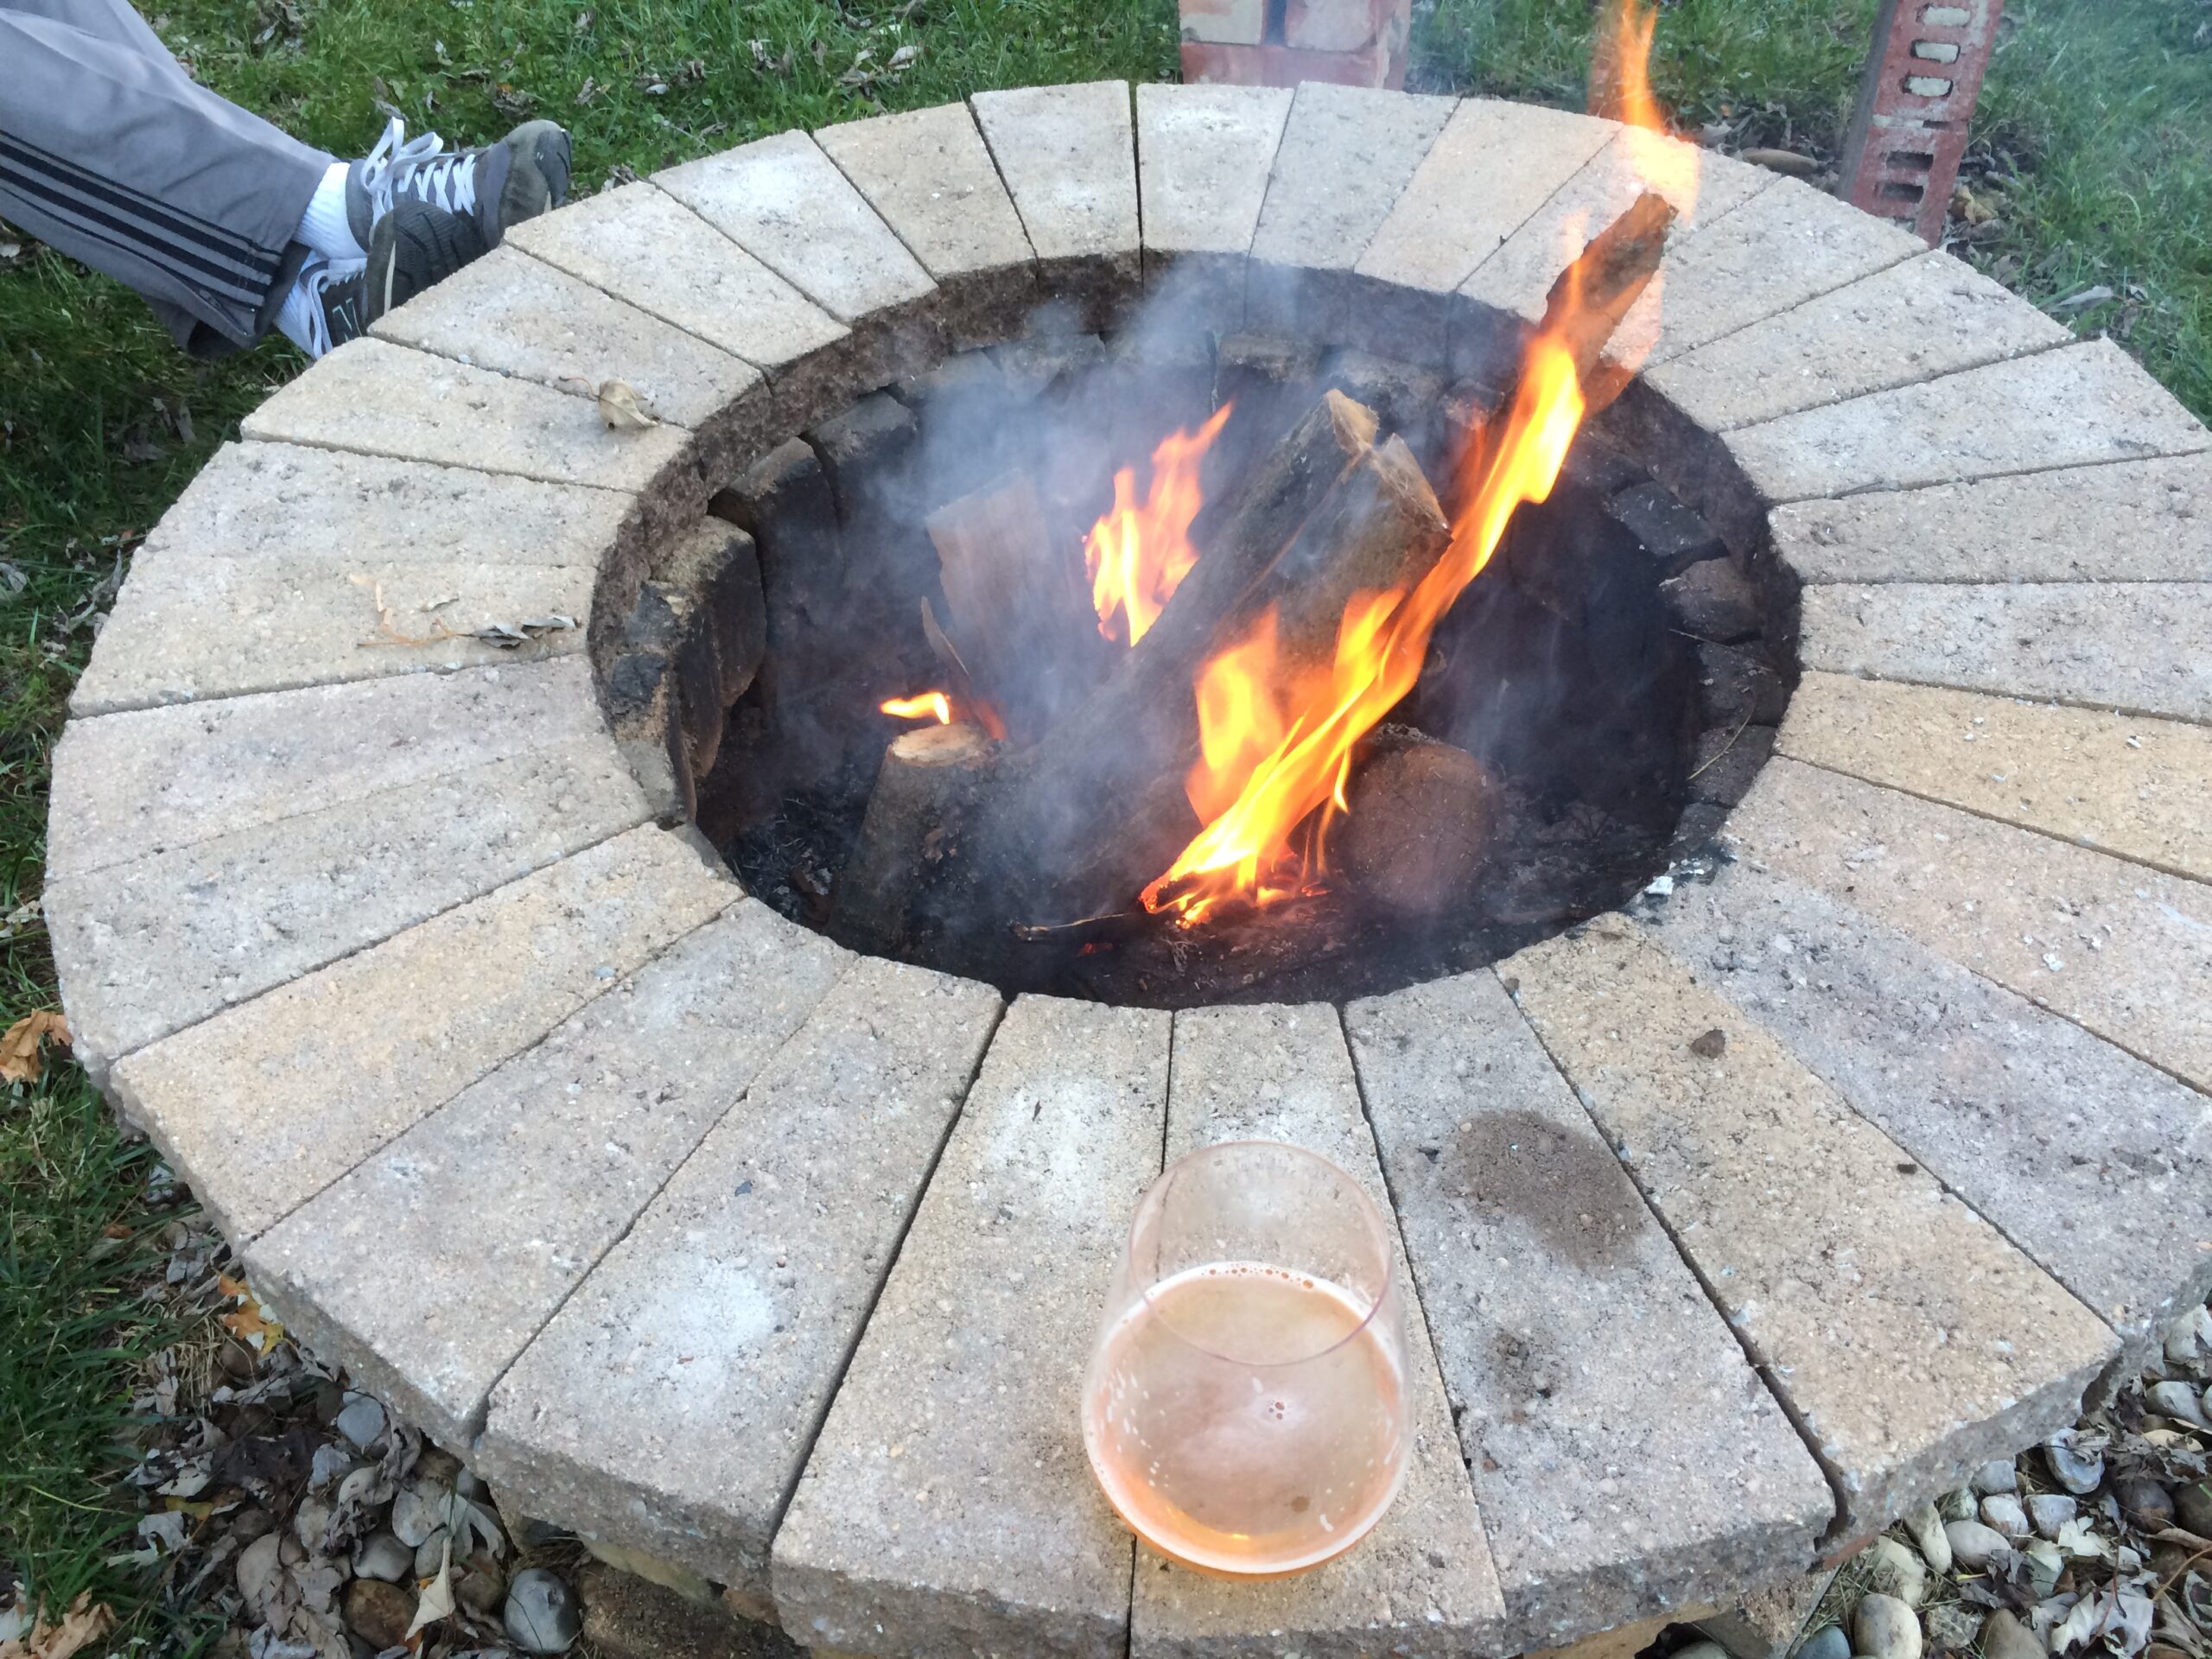
There’s nothing like kicking back around the fire pit with a tasty beverage to open up conversation with those you love. Craving that intimacy, it occurred to me one day, why wait until a camping trip when I could create a cozy spot right at home? And not only that, but make it a functional grill, too!

I’ve loved the design of this fire pit so much, that I’ve built it twice! After it’s first build in 2014, it was deconstructed and rebuilt in 2016 when I moved up the hill to our second home in Cincy. In this post there are the combined pictures of it in both locations. The first build was much more clean since the second rebuilt version suffered from mis-alignment due to old landscape caulking residue. But guess what? It still works and I’m probably the only one who notices!


Let’s start with the materials needed.
- Landscape caulking and caulking gun.
- Base bricks of four rows (I used a total of 56 bricks).
- I used fire bricks like ones you’d find in a kiln or pizza oven, but I’m sure you can use regular bricks, pavers or concrete bricks, too!
- My fire bricks measure 9″ x 4.5″ x 2.5″ and I used 56 total.
- Top layer of thin surface pavers to create a flat circular surface (I used a total of 29 pavers).
- These are typically used for edging and I just happened to find them at Home Depot. I am not sure what they’re called (perhaps ledgestone?).
- Mine measure 9.5″ long x 2″ tall with a width of 4.25″ on one end and 2.5″ on the short end.
- 21 inch grate for cooking. I recommend one with handles.
- 17 inch grate for using coal instead of wood (optional).
- Rebar for resting the coal grate above the ash (optional).
- Weber 23″ lid for cooking (optional, but highly recommended).
- Sand for leveling and creating a base.
- Rocks to build your fire on top (and to use as edging to make mowing easier).
A bit of a disclaimer – While I was living in an industrial area of Cincinnati called Camp Washington, I had the unfortunate luck of being able to acquire some used fire bricks for my pit after a chemical company burned down to the ground next door. All humans were safe, and afterward I was able to salvage some rock and bricks before they hauled off the materials. So you might want to shop around for some cheaper bricks as I’ve found fire bricks can be pricy.
As I mentioned, I used what I could scavenge. My fire pit uses rectangular bricks that are spaced apart to allow air flow to be pulled in along the sides (and also warm your toes). You might experiment with bricks that allow you to nicely create a circle like these or these Rumble Stone pavers that makes construction easier. But with the rounded bricks, something to consider is if you decide to butt them together, you won’t have as much air flow.
Onto my design!
The dimensions are 40 1/2 inches wide by 16 inches tall.


There are 5 layers. The first bottom 3 layers have gaps while the top two do not:
- Bottom first layer = 10 fire bricks
- 2nd layer from bottom = 10 fire bricks
- 3rd layer from bottom = 10 fire bricks
- 4th layer from bottom = 26 fire bricks that are angled so they are touching their neighbors at the center of the circle
- 5th and top layer = 29 pavers
How to Build:
- Dig a round circle and lay down sand. Level it by using a brick to pound it flat. If you have a level – I recommend using it!
- Practice. Dry fit everything to make sure you have all the materials needed before you start gluing. Make sure everything is level.
- Dig the bottom layer slightly below the ground layer. Space 10 bricks around the largest grate as a guide. Bricks are laid flat with the widest side against the ground. Again, I recommend a level.
- Stack the second layer from bottom. This layer is also 10 bricks, but oriented different. These bricks are set upright on their short but long side (see my image where you can read the “Strasburg” label). Don’t forget to check with your level.
- Add the third layer on top. This layer is oriented the same as the first layer with the widest side laid down.
- The fourth layer takes the most bricks and patience. These are laid on their short but long side, positioned perpendicular to the bricks below. The trickiest part is aligning them so they don’t fall within a gap. So scootching the group in favor of one brick might be warranted.
- Place your largest grate on top and make sure it fits comfortably.
- Use the grate as a guide for how far to set back your uppermost layer of pavers. The pavers will overhang on the outside.
- Dig the bottom layer slightly below the ground layer. Space 10 bricks around the largest grate as a guide. Bricks are laid flat with the widest side against the ground. Again, I recommend a level.
- Once you’ve practiced and are confident with the outcome, disassemble. Keep parts in piles or circles that can go back together easily.
- Get out your caulk and caulking gun and re-assemble with confidence using your landscaping adhesive. Repeat procedure in step 2.
- Let it off-gas a few days. I recommend starting a fire and not cooking on it the first time to make sure the adhesive is fully cured and any off-gassing won’t hurt you or your food.
- Add rebar by propping up on the bricks inside and setting the smallest grate inside if you’d like to have an option to use coal.
- Enjoy with friends and family!


A few tips for maintenance:
- Add the leftover ash to your garden or compost. Roses, lavender, arugula, basil, sage, phlox, cherries, hydrangeas, apples, and tomatoes love ash (to name a few).
- Did you know that hydrangeas change color based on the pH of the soil?! You can actually change the color of your blooms from blue to purple or pink just by adding your leftover ash (blue=low pH, while pink=high pH).
- Oil your grates to prevent them from rusting.
- Consider purchasing a cover for your firepit to protect it in the winter.
- You may have to re-caulk over the years if you run your mower into it or have children who climb… speaking from experience.
Here are a few additional images if helpful:


Cheers!